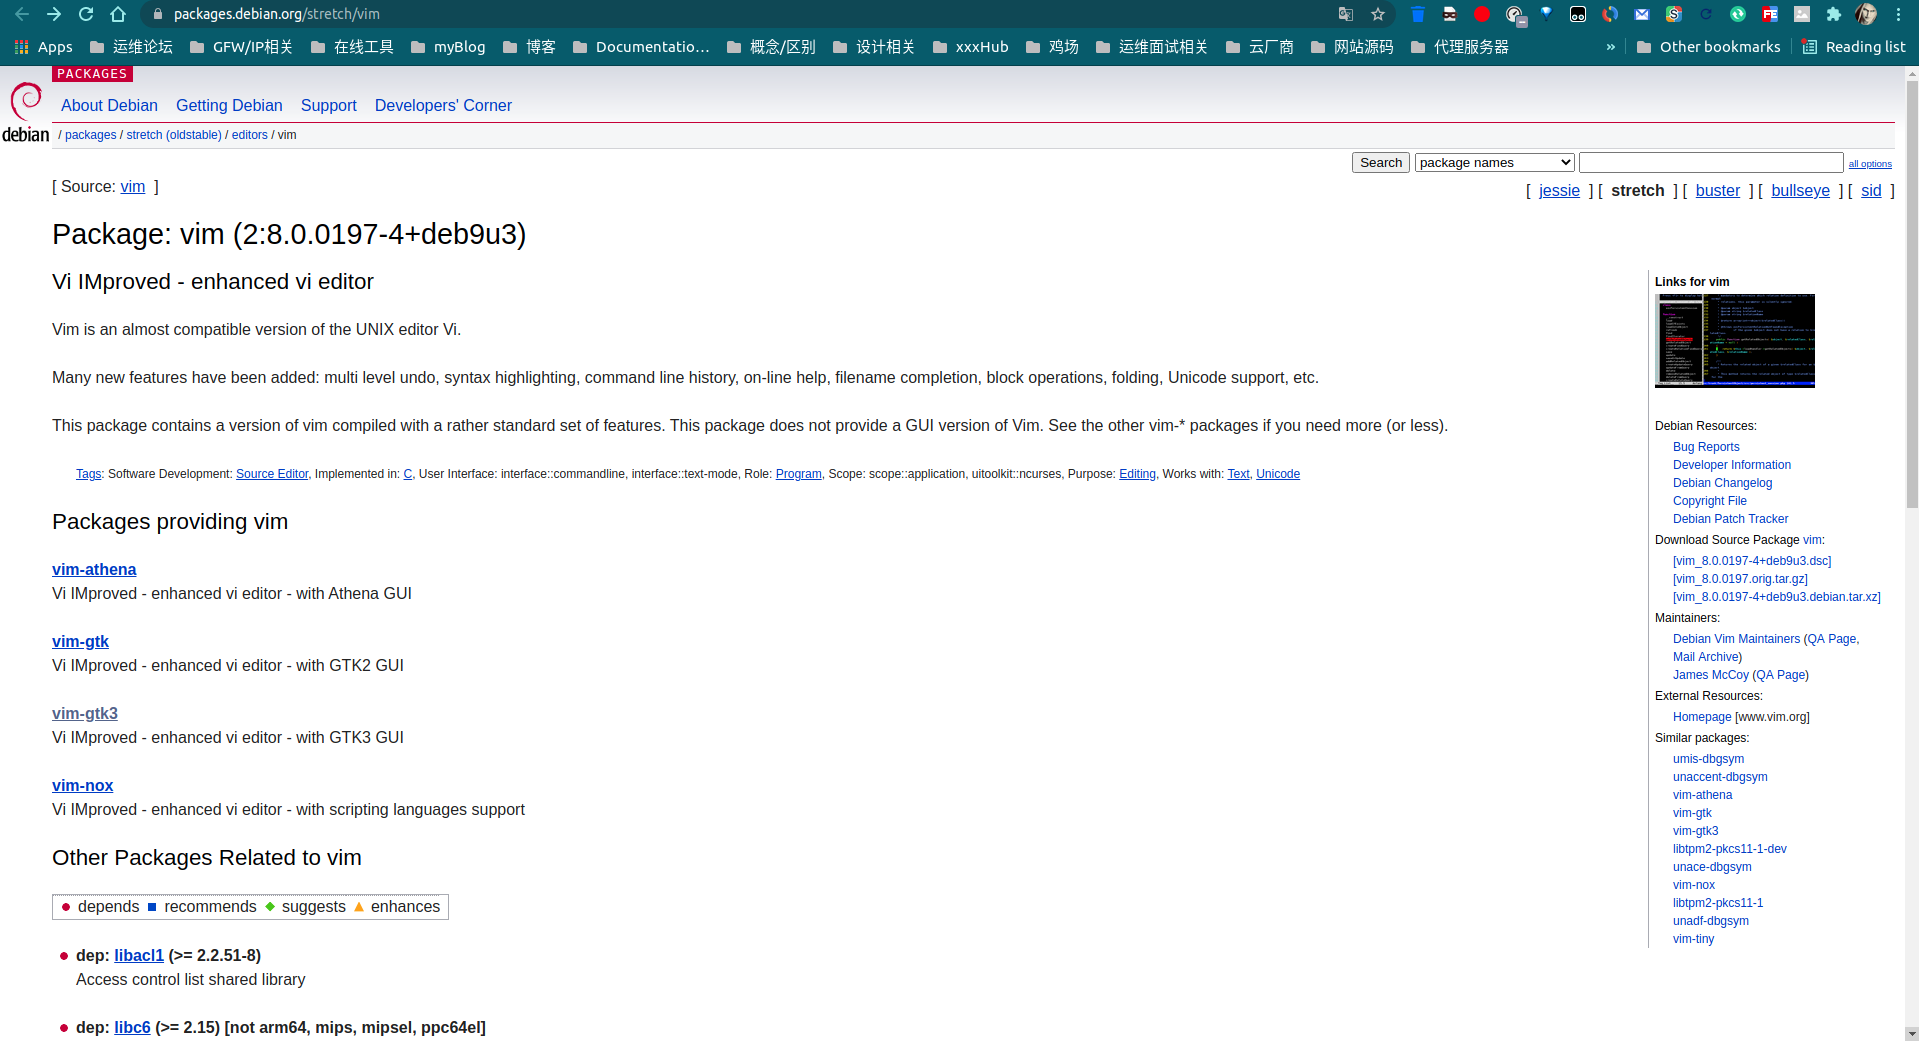
默认直接通过apt或者apt-get安装的vim功能不全,缺少clipboard功能,原因是debian官方为了兼容性才如此考虑,但debian官方也同样提供了以下几个包来满足GUI需求:
1
2
3
4
5
6
| vim-athena
Vi IMproved - enhanced vi editor - with Athena GUI
vim-gtk
Vi IMproved - enhanced vi editor - with GTK2 GUI
vim-gtk3
Vi IMproved - enhanced vi editor - with GTK3 GUI
|

可以直接通过apt install <Package_name>来安装以上包来直接使用。
但是我感觉功能还是不够全面,因此下面我简单介绍通过编译来安装带有X-Window Clipboard模块的vim:
编译环境
安装编译环境:
1
2
3
4
5
6
| $ sudo apt install -y build-essential # 安装编译包组
# 其他必要软件包
$ sudo apt install -y libxt-dev libgtk-3-dev \
libpython3-dev \ # 如果要添加python3支持,需要额外安装此包
libtool libtool-bin \ # 编译时可能因没有libtool而报错
libncurses5-dev libgnome2-dev libgnomeui-dev libgtk2.0-dev libatk1.0-dev libbonoboui2-dev libcairo2-dev libx11-dev libxpm-dev libxt-dev # 其他额外可能用到的包
|
编译安装vim
拉取仓库最新源码包:
1
| $ git clone https://github.com/vim/vim.git
|
进入相关目录:cd vim/src
在目录下执行以下命令:
1
2
3
4
5
| $ ./configure \
--enable-cscope \
--with-features=huge \
--with-x \
--with-compiledby="AGou-ops<AGou-ops@foxmail.com>"
|
其他详细编译选项及说明参考:VIM INSTALL file
编译直接使用以下命令:
1
| $ make -j4 # -j表示线程数,看个人CPU核心数而定
|
编译完成之后会在当前目录生成相关二进制文件,此时检查vim编译的各项参数:
 1
 2
 3
 4
 5
 6
 7
 8
 9
10
11
12
13
14
15
16
17
18
19
20
21
22
23
24
25
26
27
28
29
30
31
32
33
34
35
36
37
38
39
40
41
42
43
44
45
46
47
48
49
50
| $ ./vim --version
VIM - Vi IMproved 8.2 (2019 Dec 12, compiled Aug 17 2021 14:03:35)
Included patches: 1-3356
Compiled by AGou-ops<AGou-ops@foxmail.com>
Huge version with GTK3 GUI. Features included (+) or not (-):
+acl +file_in_path +mouse_urxvt -tag_any_white
+arabic +find_in_path +mouse_xterm -tcl
+autocmd +float +multi_byte +termguicolors
+autochdir +folding +multi_lang +terminal
-autoservername -footer -mzscheme +terminfo
+balloon_eval +fork() +netbeans_intg +termresponse
+balloon_eval_term -gettext +num64 +textobjects
+browse -hangul_input +packages +textprop
++builtin_terms +iconv +path_extra +timers
+byte_offset +insert_expand -perl +title
+channel +ipv6 +persistent_undo +toolbar
+cindent +job +popupwin +user_commands
+clientserver +jumplist +postscript +vartabs
+clipboard +keymap +printer +vertsplit
+cmdline_compl +lambda +profile +virtualedit
+cmdline_hist +langmap -python +visual
+cmdline_info +libcall -python3 +visualextra
+comments +linebreak +quickfix +viminfo
+conceal +lispindent +reltime +vreplace
+cryptv +listcmds +rightleft +wildignore
+cscope +localmap -ruby +wildmenu
+cursorbind -lua +scrollbind +windows
+cursorshape +menu +signs +writebackup
+dialog_con_gui +mksession +smartindent +X11
+diff +modify_fname -sodium -xfontset
+digraphs +mouse -sound +xim
+dnd +mouseshape +spell -xpm
-ebcdic +mouse_dec +startuptime +xsmp_interact
+emacs_tags -mouse_gpm +statusline +xterm_clipboard
+eval -mouse_jsbterm -sun_workshop -xterm_save
+ex_extra +mouse_netterm +syntax
+extra_search +mouse_sgr +tag_binary
-farsi -mouse_sysmouse -tag_old_static
system vimrc file: "$VIM/vimrc"
user vimrc file: "$HOME/.vimrc"
2nd user vimrc file: "~/.vim/vimrc"
user exrc file: "$HOME/.exrc"
system gvimrc file: "$VIM/gvimrc"
user gvimrc file: "$HOME/.gvimrc"
2nd user gvimrc file: "~/.vim/gvimrc"
defaults file: "$VIMRUNTIME/defaults.vim"
system menu file: "$VIMRUNTIME/menu.vim"
fall-back for $VIM: "/usr/local/share/vim"
Compilation: gcc -c -I. -Iproto -DHAVE_CONFIG_H -DFEAT_GUI_GTK -pthread -I/usr/include/gtk-3.0 -I/usr/include/at-spi2-atk/2.0 -I/usr/include/at-spi-2.0 -I/usr/include/dbus-1.0 -I/usr/lib/x86_64-linux-gnu/dbus-1.0/include -I/usr/include/gtk-3.0 -I/usr/include/gio-unix-2.0 -I/usr/include/cairo -I/usr/include/pango-1.0 -I/usr/include/fribidi -I/usr/include/harfbuzz -I/usr/include/atk-1.0 -I/usr/include/cairo -I/usr/include/pixman-1 -I/usr/include/uuid -I/usr/include/freetype2 -I/usr/include/libpng16 -I/usr/include/gdk-pixbuf-2.0 -I/usr/include/libmount -I/usr/include/blkid -I/usr/include/glib-2.0 -I/usr/lib/x86_64-linux-gnu/glib-2.0/include -g -O2 -U_FORTIFY_SOURCE -D_FORTIFY_SOURCE=1
Linking: gcc -L/usr/local/lib -Wl,--as-needed -o vim -lgtk-3 -lgdk-3 -lpangocairo-1.0 -lpango-1.0 -lharfbuzz -latk-1.0 -lcairo-gobject -lcairo -lgdk_pixbuf-2.0 -lgio-2.0 -lgobject-2.0 -lglib-2.0 -lSM -lICE -lXt -lX11 -lXdmcp -lSM -lICE -lm -ltinfo -lselinux -ldl
|
嘶~有点多:joy: ,我们只看我们想要的clipboard模块:
1
2
3
| $ ./vim --version | grep clipboard
+clipboard +keymap +printer +vertsplit
+emacs_tags -mouse_gpm +statusline +xterm_clipboard
|
主要看+clipboard和+xterm_clipboard 前面是否有+,默认apt直接安装的vim显示的是-,即表示未编译安装此模块。
飒,执行最后的安装步骤:
执行完该命令之后,直接在终端使用vim命令即可体验新特性及自己编译安装好的X-Window Clipboard模块,yeah!
最后
编译安装vim前,建议先卸载掉原来版本的vim再进行编译安装(sudo apt remove vim -y),如果你没有提前卸载掉原来的vim,可以使用以下方法来用新版本vim替换旧版本vim:
1
2
3
4
5
6
| sudo update-alternatives --install "/usr/bin/vim" "vim" "/usr/local/bin/vim" 1
sudo update-alternatives --install "/usr/bin/vi" "vi" "/usr/local/bin/vim" 1
sudo update-alternatives --config vim
sudo update-alternatives --config vi
sudo update-alternatives --config gvim
|
使用ls -lah /usr/bin/vim来检查新vim是否生效。
参考链接
